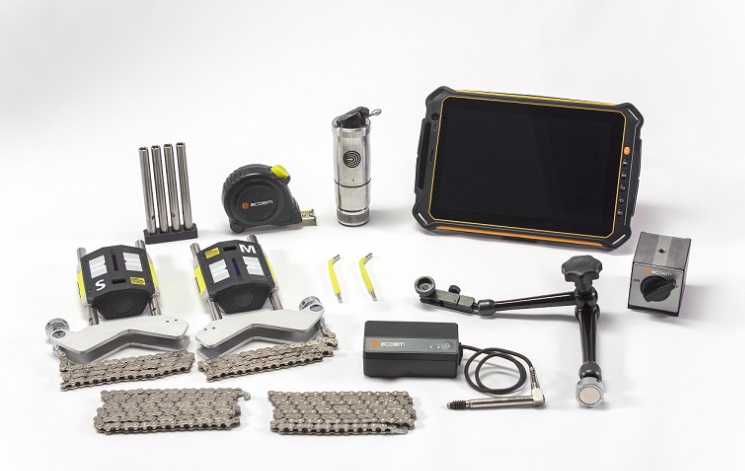
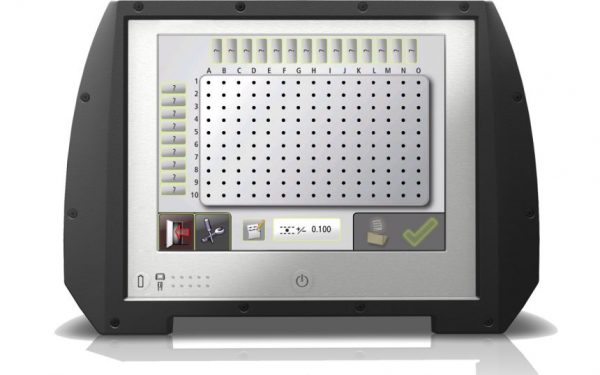
Fixturlaser’s laser based geometry system is characterized by its user friendliness. An animated display screen combined with color coded values and icons result in a graphical user interface which is unequalled. With live values, it will guide you throughout the geometry measurement and adjustment process.
The Fixturlaser Geometry NXA package shares many of the advanced technology components and functions with the much appreciated Fixturlaser NXA laser alignment system. The graphical user interface is icon based facilitating interpretation. It has the same Flash animated color screen with color coded values and results, and the green arrows showing in which direction to move the machine or the measurement object. The system is available with wireless units for data transfer; i.e. no cables between transmitters, detectors and the display box, so that you can move around in full freedom when recording measurement points or during adjustments. The documentation of measurement reports is handled via the USB ports for transfer to a PC or other storage media of your choice, i.e. no need for additional external software or hardware. [sic Fixturlaser]
 |

STRAIGHTNESS

The Straightness application is measured in two axis, where the laser beam is used as reference.The deviation in distance between the laser beam and the measurement object is measured in two or more positions with the use of a receiver. The program allows for up to 99 points to be measured. Typical applications are measurements of machine guides, machine beds, machine ways, and guide rails.

FLATNESS RECTANGULAR

The Rectangular Flatness allows for up to 150 points (10 x 15) to be measured. Typical applications are measurements of e.g. machine beds and machine foundations. For the latter application, it is particularly beneficial to combine flatness measurement with shaft alignment when installing rotating machinery. First you check the foundation’s surface for possible irregularities, a so called pre-alignment check. If any, adjust these. Install the machine and check for possible misalignment with a laser based shaft alignment tool like the Fixturlaser NXA system.

FLATNESS CIRCULAR

The Circular Flatness allows for up to three circles with 99 points on each circle to be measured. A typical application is the measurement of flanges.


Be the first to review “FLATNESS AND STRAIGHTNESS”